⚠️ Pontoon Wiring Rats Nest: How to Rewire Without Burning Down Your Boat
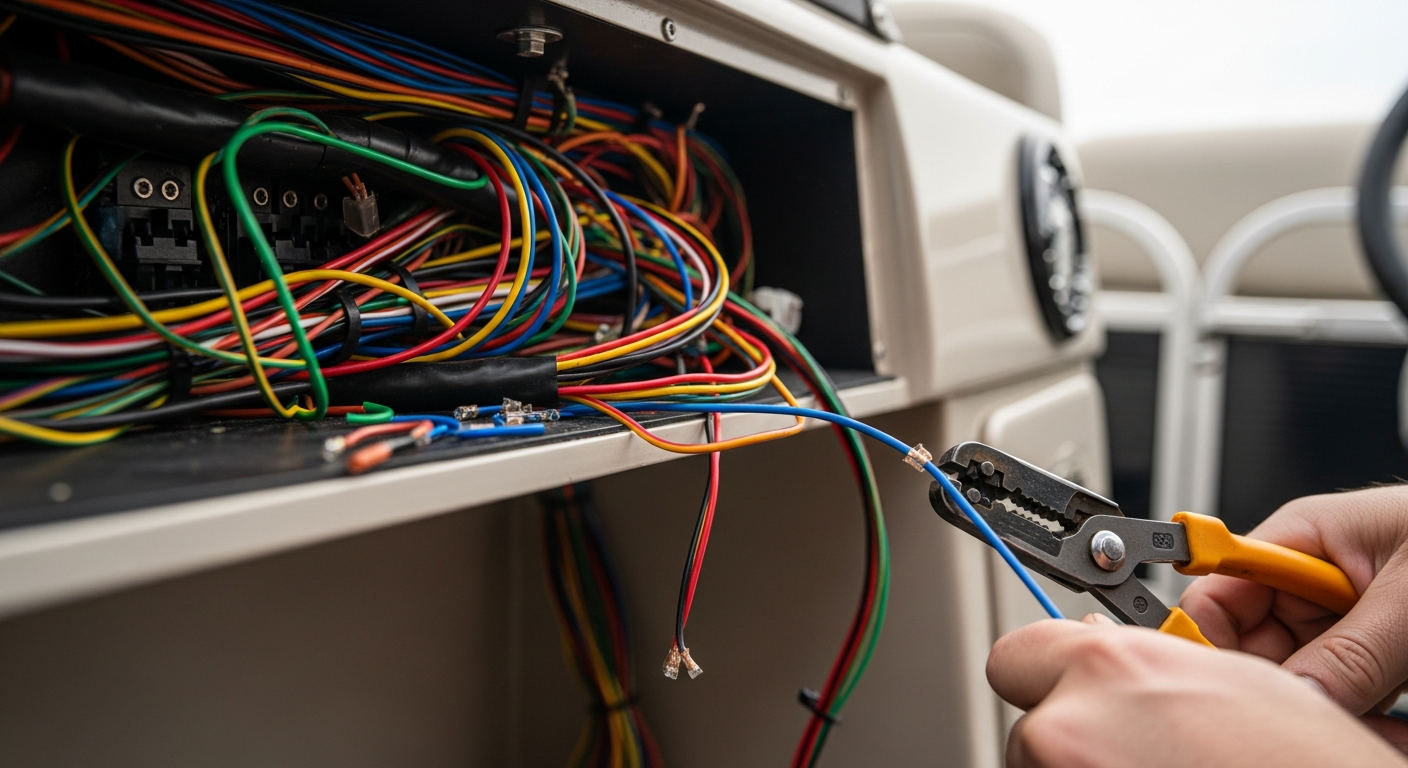
Open the console panel on a pontoon that has had a stereo upgrade, LED lights, a fish finder, and a trolling motor battery added by three different owners over 10 years, and you will find what forum members call the "rats' nest" — a tangle of mismatched wire gauges, household electrical tape, butt connectors crimped with pliers, and runs of non-marine wire zip-tied to fuel lines.
A rats' nest is not just ugly. It is a fire hazard, a reliability problem, and the reason your lights flicker, your stereo cuts out, and your bilge pump fails on the day you need it most. As a design engineer at a pontoon manufacturer confirmed on Reddit, even factory wiring quality varies significantly between brands and model years. This guide covers how to identify dangerous wiring, what to fix yourself versus what to hand to a marine electrician, and the correct materials that prevent problems from coming back.
🔍 How to Tell If Your Wiring Is Dangerous
Open your console panel and look for these red flags. Any single one warrants investigation. Three or more together mean the electrical system needs a full audit.
🚨 Electrical tape connections
Wire-to-wire splices wrapped in electrical tape instead of heat-shrink or marine-grade crimp connectors. Electrical tape unravels in heat and moisture, exposing bare copper to corrosion and short circuits.
🚨 Household wire (solid copper)
Marine wire is stranded and tinned. Household wire (Romex, solid-core) is designed for stationary buildings — it cracks from vibration on a boat within 1–2 seasons, creating intermittent shorts and potential arcing.
🚨 No fuse on added circuits
Every aftermarket addition (stereo, lights, fish finder) should have its own fused circuit. Wire running directly from the battery to a device without a fuse means a short anywhere in that wire draws unlimited current — melting insulation and starting fires.
⚠️ Mixed wire gauges
A 10-gauge power wire spliced to a 16-gauge extension creates a bottleneck. The thin wire overheats under load while the thick wire stays cool — the heat is concentrated at the splice point, which is usually the weakest connection.
⚠️ Wires routed near fuel lines
Electrical wire running alongside, touching, or crossing fuel lines, fuel tank fittings, or fuel fill hoses. A chafed wire near fuel creates an ignition source. ABYC standards require minimum 2-inch separation between electrical and fuel.
⚠️ Corroded terminals
Green or white buildup on battery terminals, bus bars, or connector blocks. Corrosion increases resistance, which generates heat under load. Clean and protect terminals with anti-corrosion spray annually.
🔧 What You Can Fix Yourself vs. What Needs a Pro
| Task | DIY? | Why |
|---|---|---|
| Replace electrical tape with heat-shrink connectors | ✅ Yes | Basic crimping and heat gun. Most important safety upgrade you can do in an afternoon. |
| Add inline fuses to unfused circuits | ✅ Yes | Cut the wire, install an inline fuse holder, crimp connections. $5 per circuit. |
| Replace household wire with tinned marine wire | ✅ Yes | Run new wire on the same route. Match or increase gauge. Use marine-rated wire only. |
| Install a fuse panel / bus bar | ⚠️ Maybe | Moderate skill. Requires understanding circuit loads and wire gauge matching. Good YouTube guides exist but mistakes create fire risk. |
| Relocate wires away from fuel lines | ⚠️ Maybe | Safe if you are comfortable working around fuel components. If any fuel connection must be disturbed, use a pro. |
| Full rewire of the helm console | ❌ Pro | Too many circuits, too many connection points, too much at stake. A marine electrician charges $500–$1,500 and guarantees ABYC-compliant work. |
| Battery bank rewiring (dual battery, trolling motor) | ❌ Pro | High amperage circuits with risk of arc flash. Incorrect battery isolation wiring can drain both batteries or damage charging systems. |
⚡ The Right Materials (Marine-Grade, Not Amazon Cheapest)
Marine electrical components cost more than automotive equivalents. The difference is tinned copper stranding and waterproof housings — both critical in a marine environment where vibration, moisture, and salt exposure destroy standard components.
Wire
- Use: ABYC-compliant tinned copper stranded marine wire (labeled "BC-5W2" or "UL 1426")
- Never use: Solid copper, automotive primary wire, or speaker wire for power circuits
- Gauge guide: 16 AWG for lights and accessories under 10A. 12 AWG for stereos and pumps 10–20A. 10 AWG for high-draw devices 20–30A. 8 AWG or larger for windlass, trolling motor, and battery-to-panel runs.
Connectors
- Use: Adhesive-lined heat-shrink crimp connectors (the type with hot-melt glue inside). Crimp first, then heat with a heat gun — the glue seals out moisture.
- Never use: Bare butt connectors, wire nuts, or electrical tape splices
- Tool: A ratcheting crimp tool ($25–$40) makes consistent crimps. Regular pliers create cold crimps that pull apart under vibration.
Fuse panel
- Use: Marine-rated blade fuse panel with a negative bus bar. Blue Sea Systems is the brand forum members recommend most consistently — see the PontoonForums wiring discussion threads for owner comparisons. The ST Blade fuse block (6 or 12 circuit) handles most pontoon setups.
- Never use: Automotive fuse holders from the auto parts store — they are not sealed against moisture and corrode at the contacts
Bus bars
- Use: Tinned copper bus bar with insulated cover for both positive and negative distribution. Every ground wire should terminate at a bus bar — not daisy-chained from device to device.
- The daisy-chain ground problem: When aftermarket devices share grounds by piggybacking on each other's ground wires, a single failed connection kills everything downstream. A bus bar with individual connections for each circuit eliminates this.
📊 Rewiring Priority Order
If you cannot do everything at once, fix these in order of safety impact:
- Add fuses to any unfused circuits
This is the #1 fire prevention measure. A $5 inline fuse holder on each unfused wire prevents a short from becoming a fire. Do this first, today.
- Replace electrical tape splices with heat-shrink connectors
Every exposed or tape-wrapped connection is a potential short circuit and corrosion point. Replace all tape splices in one session — it takes 1–2 hours for a typical pontoon.
- Separate wires from fuel lines
Reroute any electrical wire within 2 inches of fuel components. Use cable clamps and nylon tie mounts to secure wires to the hull or console structure — not zip-tied to other hoses or wires.
- Replace household or automotive wire with marine-grade
Replace one circuit at a time. Label both ends of every wire before disconnecting — a label maker or numbered cable tags prevent the "which wire goes where" problem during reassembly.
- Install a fuse panel and bus bars
This is the full cleanup. All power circuits through a single fused panel, all grounds to a bus bar, all wires labeled and routed cleanly. For an example of what a complete rewiring looks like during a pontoon rebuild, this owner documented the full process. Budget $150–$300 in parts, 4–8 hours labor if DIY.
🛡️ Preventing the Next Rats Nest
- Label every wire at both ends. Use printed cable labels or numbered tags. The next owner (or future you) will thank you.
- Document your circuits. Tape a simple wiring diagram inside the console panel — which fuse position powers what device, what gauge wire, what amperage fuse.
- Require any installer to use marine-grade components. When you hire someone to install a stereo or fish finder, specify tinned marine wire, heat-shrink connectors, and a fused circuit. Check their work before paying — open the panel and look.
- Inspect annually. Open the console panel every spring and look for corroded terminals, loose connections, and chafed insulation. Five minutes of inspection prevents a season of electrical gremlins.
- Keep a wiring log. Every time a circuit is added or modified, note the date, what was done, what wire gauge was used, and what fuse protects it. Attach the log to the inside of the console door.
Related Issues
Electrical problems on pontoons often surface alongside fuel system issues — aftermarket wiring routed near fuel lines is a common hazard. If you are troubleshooting fuel delivery problems or fuel burping at the fill neck, check the wiring routing before disturbing any fuel connections.
Water inside the pontoon logs can also corrode wiring that runs through or under the deck — if you find corroded connections near the stern, check for water in the pontoon logs as the root cause. For the complete annual maintenance routine that includes electrical checks, see the seasonal maintenance checklist. For marine-grade tools and components that forum members recommend, see the handy hints and gadgets directory.